Hands-On Projects

What You Actually Make

Every project in the session is a real candle with real materials. Here's a breakdown of what you work on, why each project matters, and what you take home at the end.

Participant pouring soy wax into a small round glass jar during the workshop first candle project
Project 01

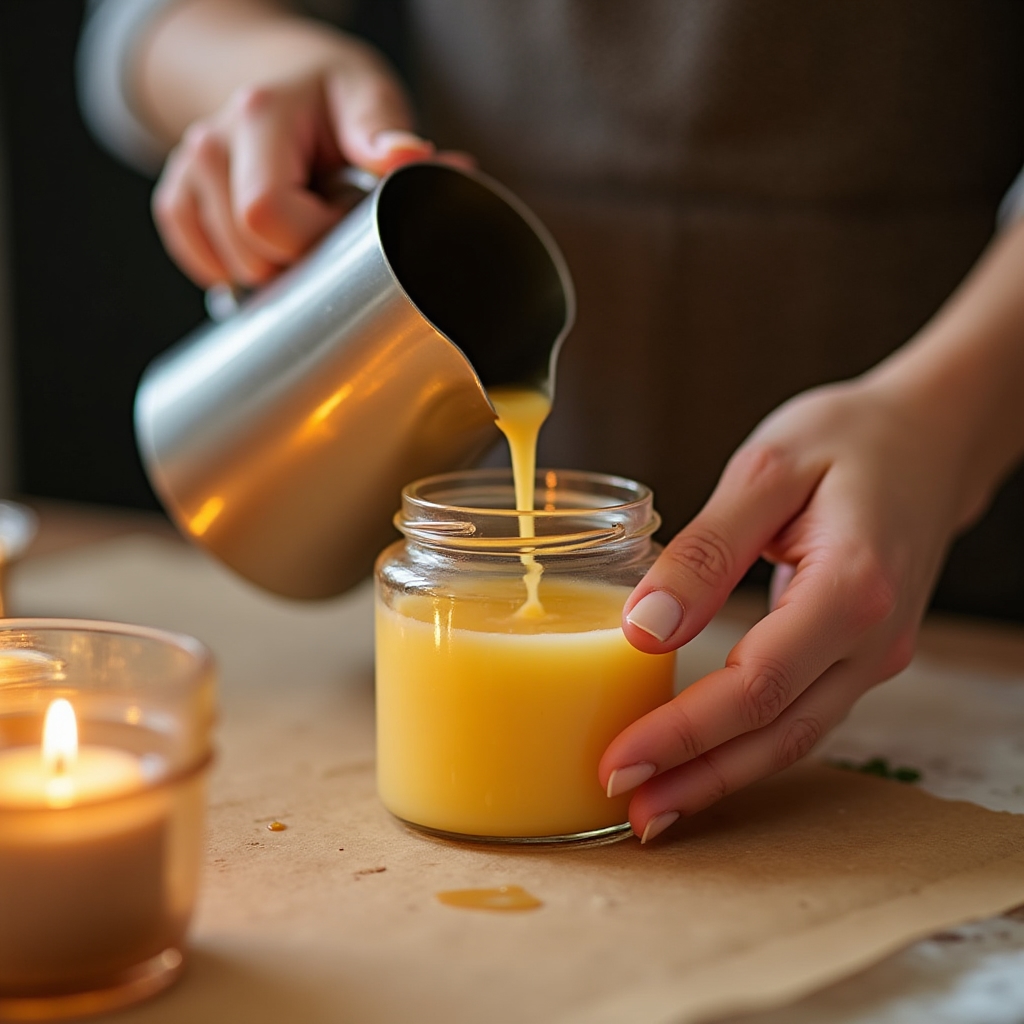
The Small-Jar Candle

Your first pour. A compact glass jar that teaches the fundamentals of temperature management, wick placement, and pour technique without the complexity of a larger vessel. You'll learn why pour temperature matters — too hot and the fragrance dissipates, too cool and you get air pockets and uneven surfaces.

The small jar also gives you a chance to practice fragrance blending on a smaller scale before committing to a larger pour. You'll work through the math of fragrance load percentage — a concept that sounds technical but becomes intuitive quickly once you're actually measuring.

Temperature Control Fragrance Blending Wick Sizing
Project 02

The Medium Tin Candle

A different container, different wick requirements, and a different fragrance challenge. The medium tin has more surface area, which changes how the candle burns and how strongly the scent projects. This project focuses on scent throw — the difference between cold throw (how the candle smells unlit) and hot throw (the scent when burning).

You'll also work on a second fragrance blend here, applying what you learned from the first project and pushing the combination further. This is where most participants start to develop their own scent preferences and instincts.

Scent Throw Advanced Blending Burn Pool Control
Large apothecary-style glass jar candle with a handcrafted label on a workshop table surrounded by crafting materials
Project 03

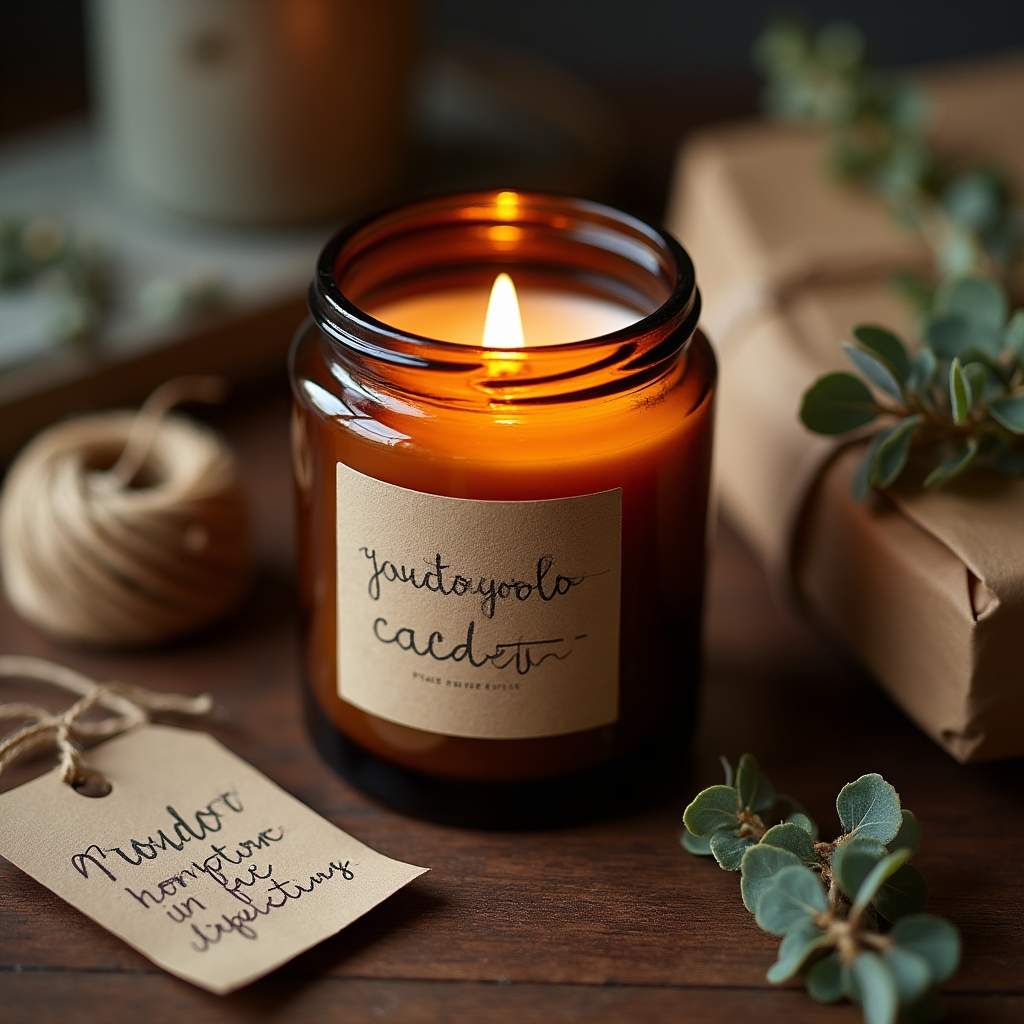
The Large Gift Candle

The final project brings everything together. A larger vessel, your own fragrance combination, and a label you design during the session. This is the candle most participants think about when they imagine gifting or selling — the one that looks and smells intentional.

Label design is covered here in practical terms: what information to include, font and layout basics, how to print or handwrite labels that look clean at small sizes. The goal isn't graphic design — it's making something that looks considered rather than rushed.

Label Design Presentation Gift Packaging
Common Questions

Before You Join

Do I need to bring anything?

Nothing at all. All materials, tools, jars, wax, fragrance oils, wicks, labels, and packaging are included in the session. Wear clothes you don't mind getting a little waxy.

Is this suitable for someone who has never made a candle?

Yes. The workshop is designed specifically for people with no prior experience. The instructors walk through every step from the beginning, and no knowledge is assumed coming in.

Can the candles I make be sold?

The candles you make are yours to do with as you like. The session covers label design and presentation with small-batch selling in mind, so yes — the finished products are suitable for bazaar or gifting use.

How soon can I burn the candles after the session?

Soy candles need to cure for at least 48 hours before the first burn. You'll leave with candles that are set and cooled, but letting them rest for two days produces the best scent throw on that first light.

What fragrance options are available?

The workshop provides a curated selection of fragrance oils covering floral, woody, citrus, and fresh categories. You can use them individually or blend them. The selection changes slightly between sessions based on availability.

Is the session suitable for groups?

Group sessions can be arranged for team activities, celebrations, or other gatherings. Get in touch through the contact page to discuss dates and group size.

Ready to Make Your Own?

Reach out to find out about upcoming session dates and availability. The workshop runs with small groups and each session fills up on its own timeline.

Get in Touch